
3D Systems was an early 3D printer manufacturer who made large scale, multi-extruder printers. They tried to lock the filament market down with cartridge hardware to ensure you only used the genuine filament. That didn’t work out for them, but after I was given with an old, single extruder 3D Systems CubeX I thought it might be worth having a go at modernising it.
The CubeX has a 290x290x~300mm physical print volume with a large, heavy metal carriage on linear bearing and steel rails. It has two NEMA 17 steppers for the Y axis, one for the X axis, and one large NEMA 23 stepper for the Z. The Z axis moves by way of a leadscrew, while the X and Y use toothed belts. For endstops its uses magnetic reed switches, and the Z axis reed switch is triggered by a magnet under the bed at a certain location. The extruder and hotend are designed for 1.70mm filament, which is nonstandard. The fixed extruder also features filament runout and jam detection by way of an optical sensor on the extruders driven wheel.
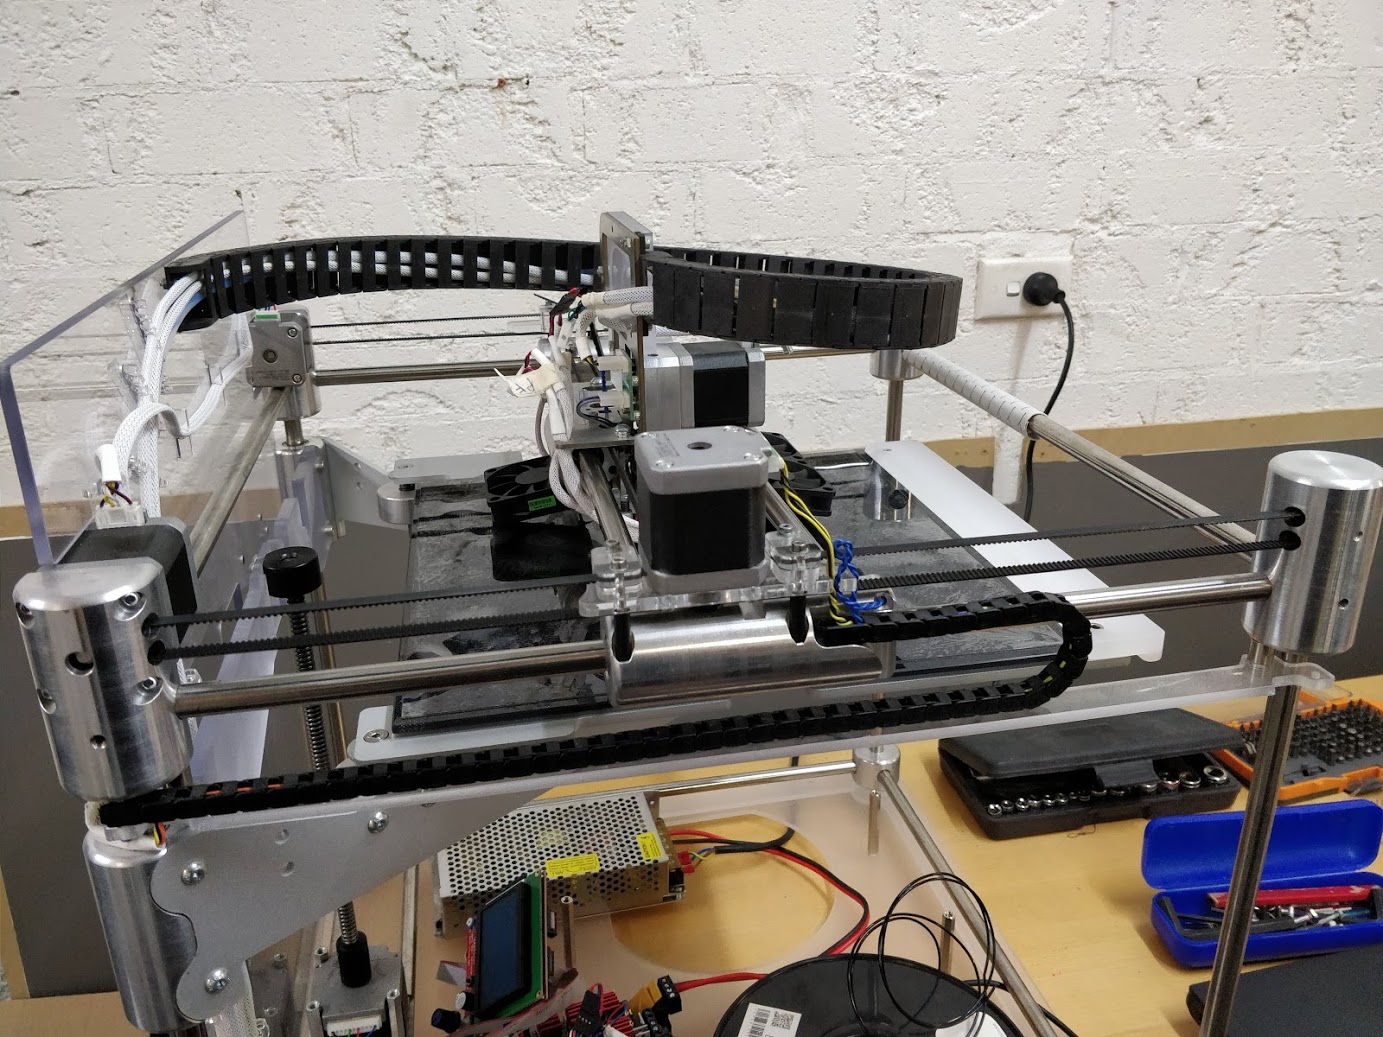 The top half of the CubeX without the plastic cover
One of the most fascinating parts of the printer is its low-volume and cheap construction. Using only one size of solid steel rod, one size of steel plate, and 3 sizes of cylindrical steel billet to construct the metal frame. To attach the extruder cooling fans, rubber pin rivets are used. Which was a method of fastening that was new to me, and demonstrates the costs savings the company tried to achieve during assembly.
The low-volume, mostly billet construction of the printer provides a ridged, maintainable platform for bringing the rest of the printer up to date with more recent FDM printer technology. As well as removing its reliance on specific filament cartridges that are no longer produced.
The modifications include:
- 24V power supply
- 32 bit controller
- 128 microstep stepper drivers
- Polypropylene bed coating
- Industry standard hotend
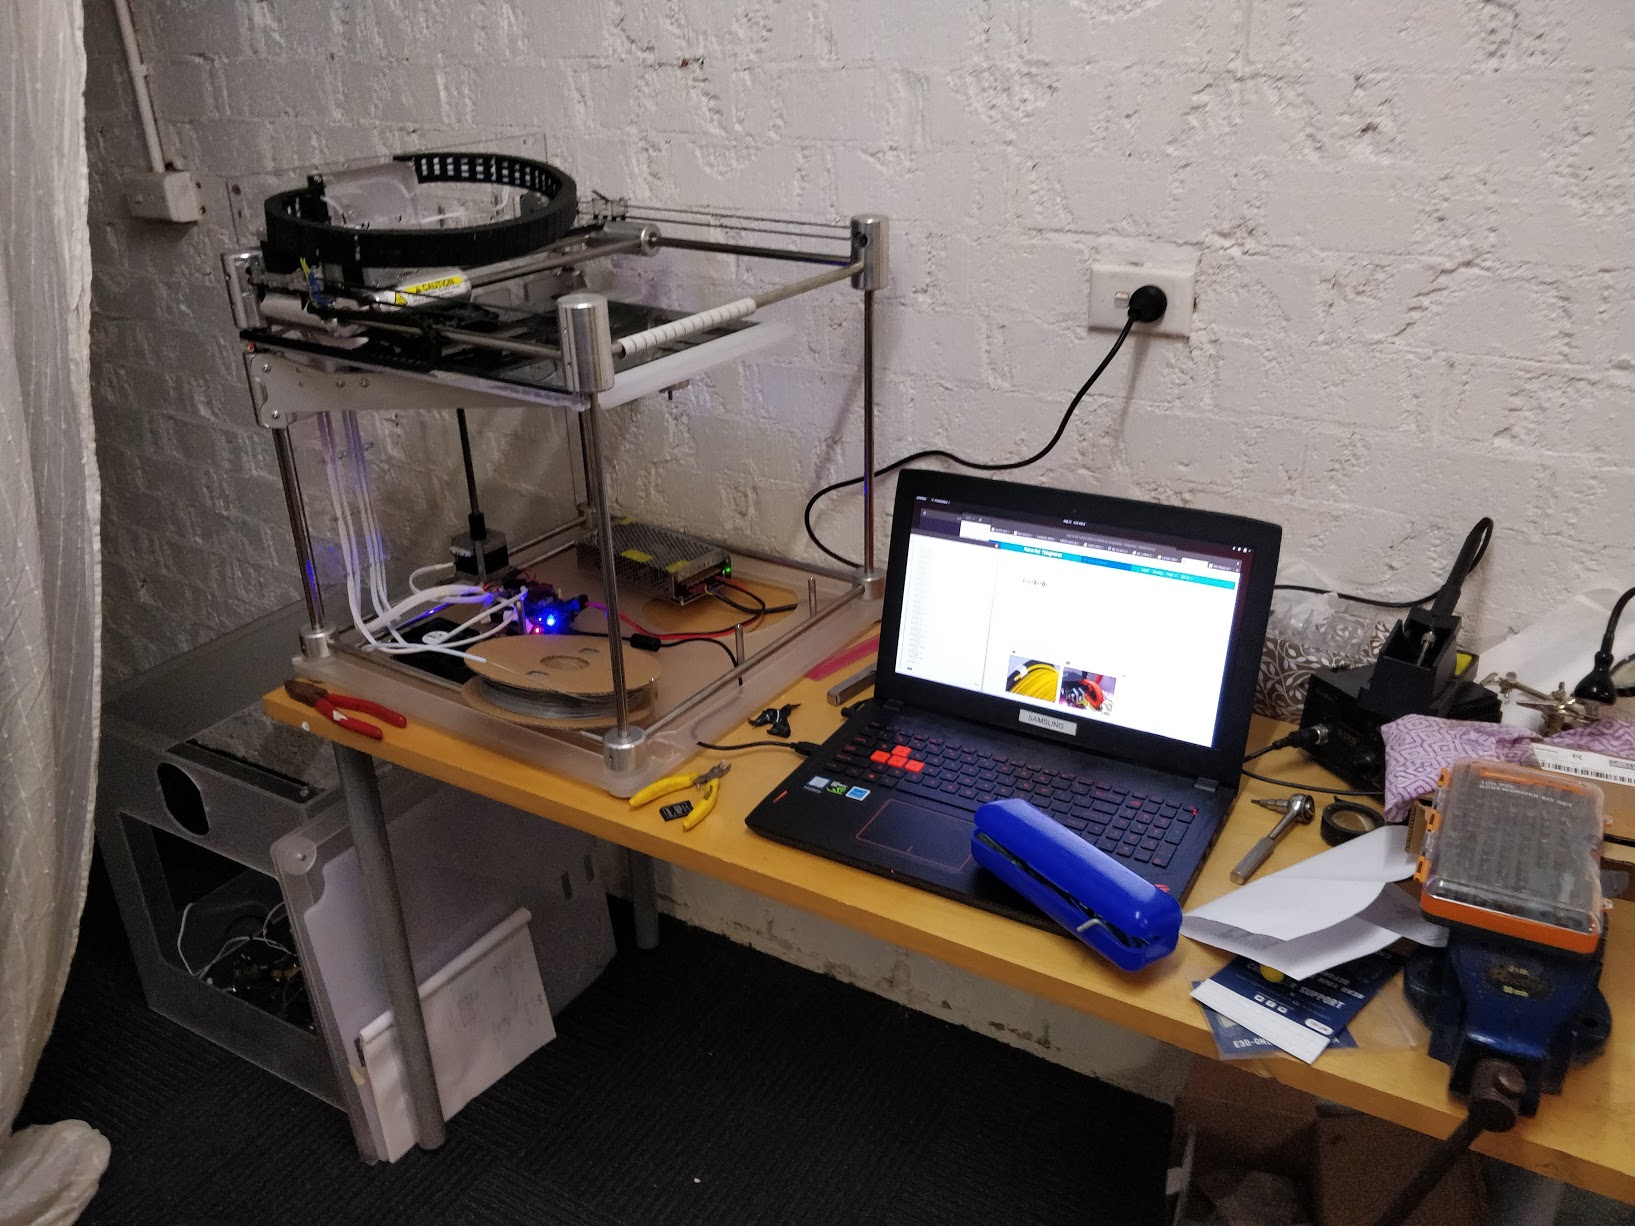 The bench setup, with a laptop connected as a gcode interface
Wiring and Setup
Connecting the new 24v power supply and 32bit controller involved repurposing the existing loom and crimping on new Dupont-style header connectors. After getting everything plugged in, the next step was to configure the new firmware with all the hardware details I’d scoured from various internet sources. Including the steps/mm and the maximum steps allowed for each axis.
Because the fans were carried over from the original 12v system, the two extruder fans needed to be run in series, and changes made to the Marlin source so the three part cooling fans do not exceed 50% duty cycle.
The auto install script could find the printers device under Arch Linux, so some modifications were also made to allow the compiled code to be installed directly to the controller.
However, after the first test print there were some obvious issues:
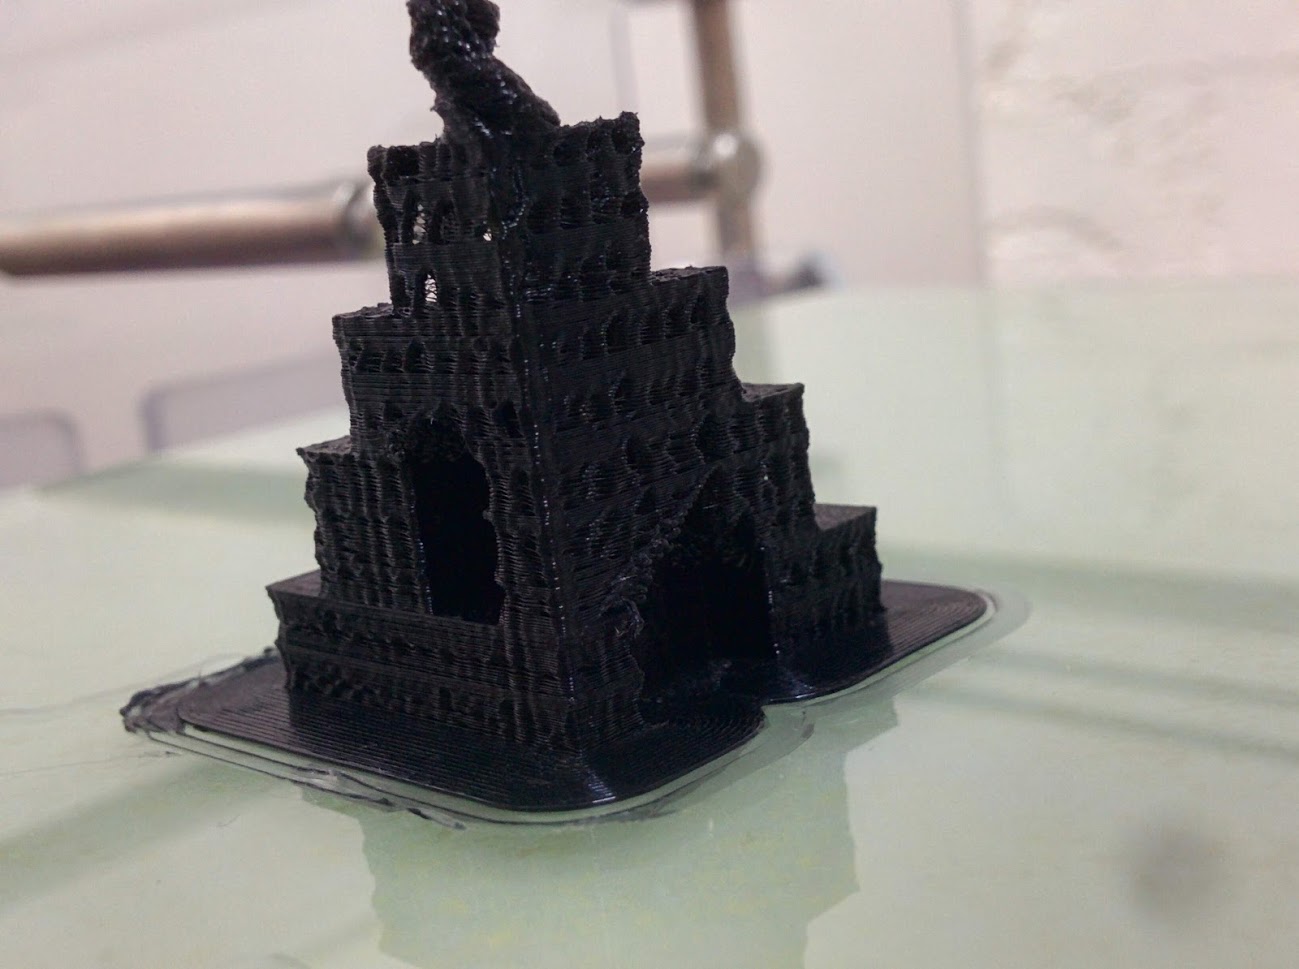 The first print, each of the sections is supposed to be a cube…
Z Axis Torque Issue
The elongation and voids visible in the first print was an indication of a Z axis issue. Counterintuitively, although the z axis moves more than asked it was actually an issue with insufficient stepper torque. This was because at the 128th microstepping setting the stepper did not have enough holding torque to deaccelerate the bed once it was moving downwards (ie, when it was working against gravity). The Z axis was adjusted to 64th microstepping to increase the torque.
Hotend Conversion
After only one more test print, the original CubeX hotend thermistor failed. And after reading about the conversions that others had done to use more standard (better) parts, I thought it would be worth trying to adapt another hotend to the existing extruder. The hotend I selected was the E3D V6 with their new screw mount. Which needed to mount into the original clamp fitting where the filament exits the stepper. To do this I designed and fabricated a small aluminium adaptor with a threaded and a blank section. Because in the E3D V6 the plastic filament tube extends all the way into the hotend, the hole through the middle of the adaptor has to be large enough to accommodate the plastic tube as well.
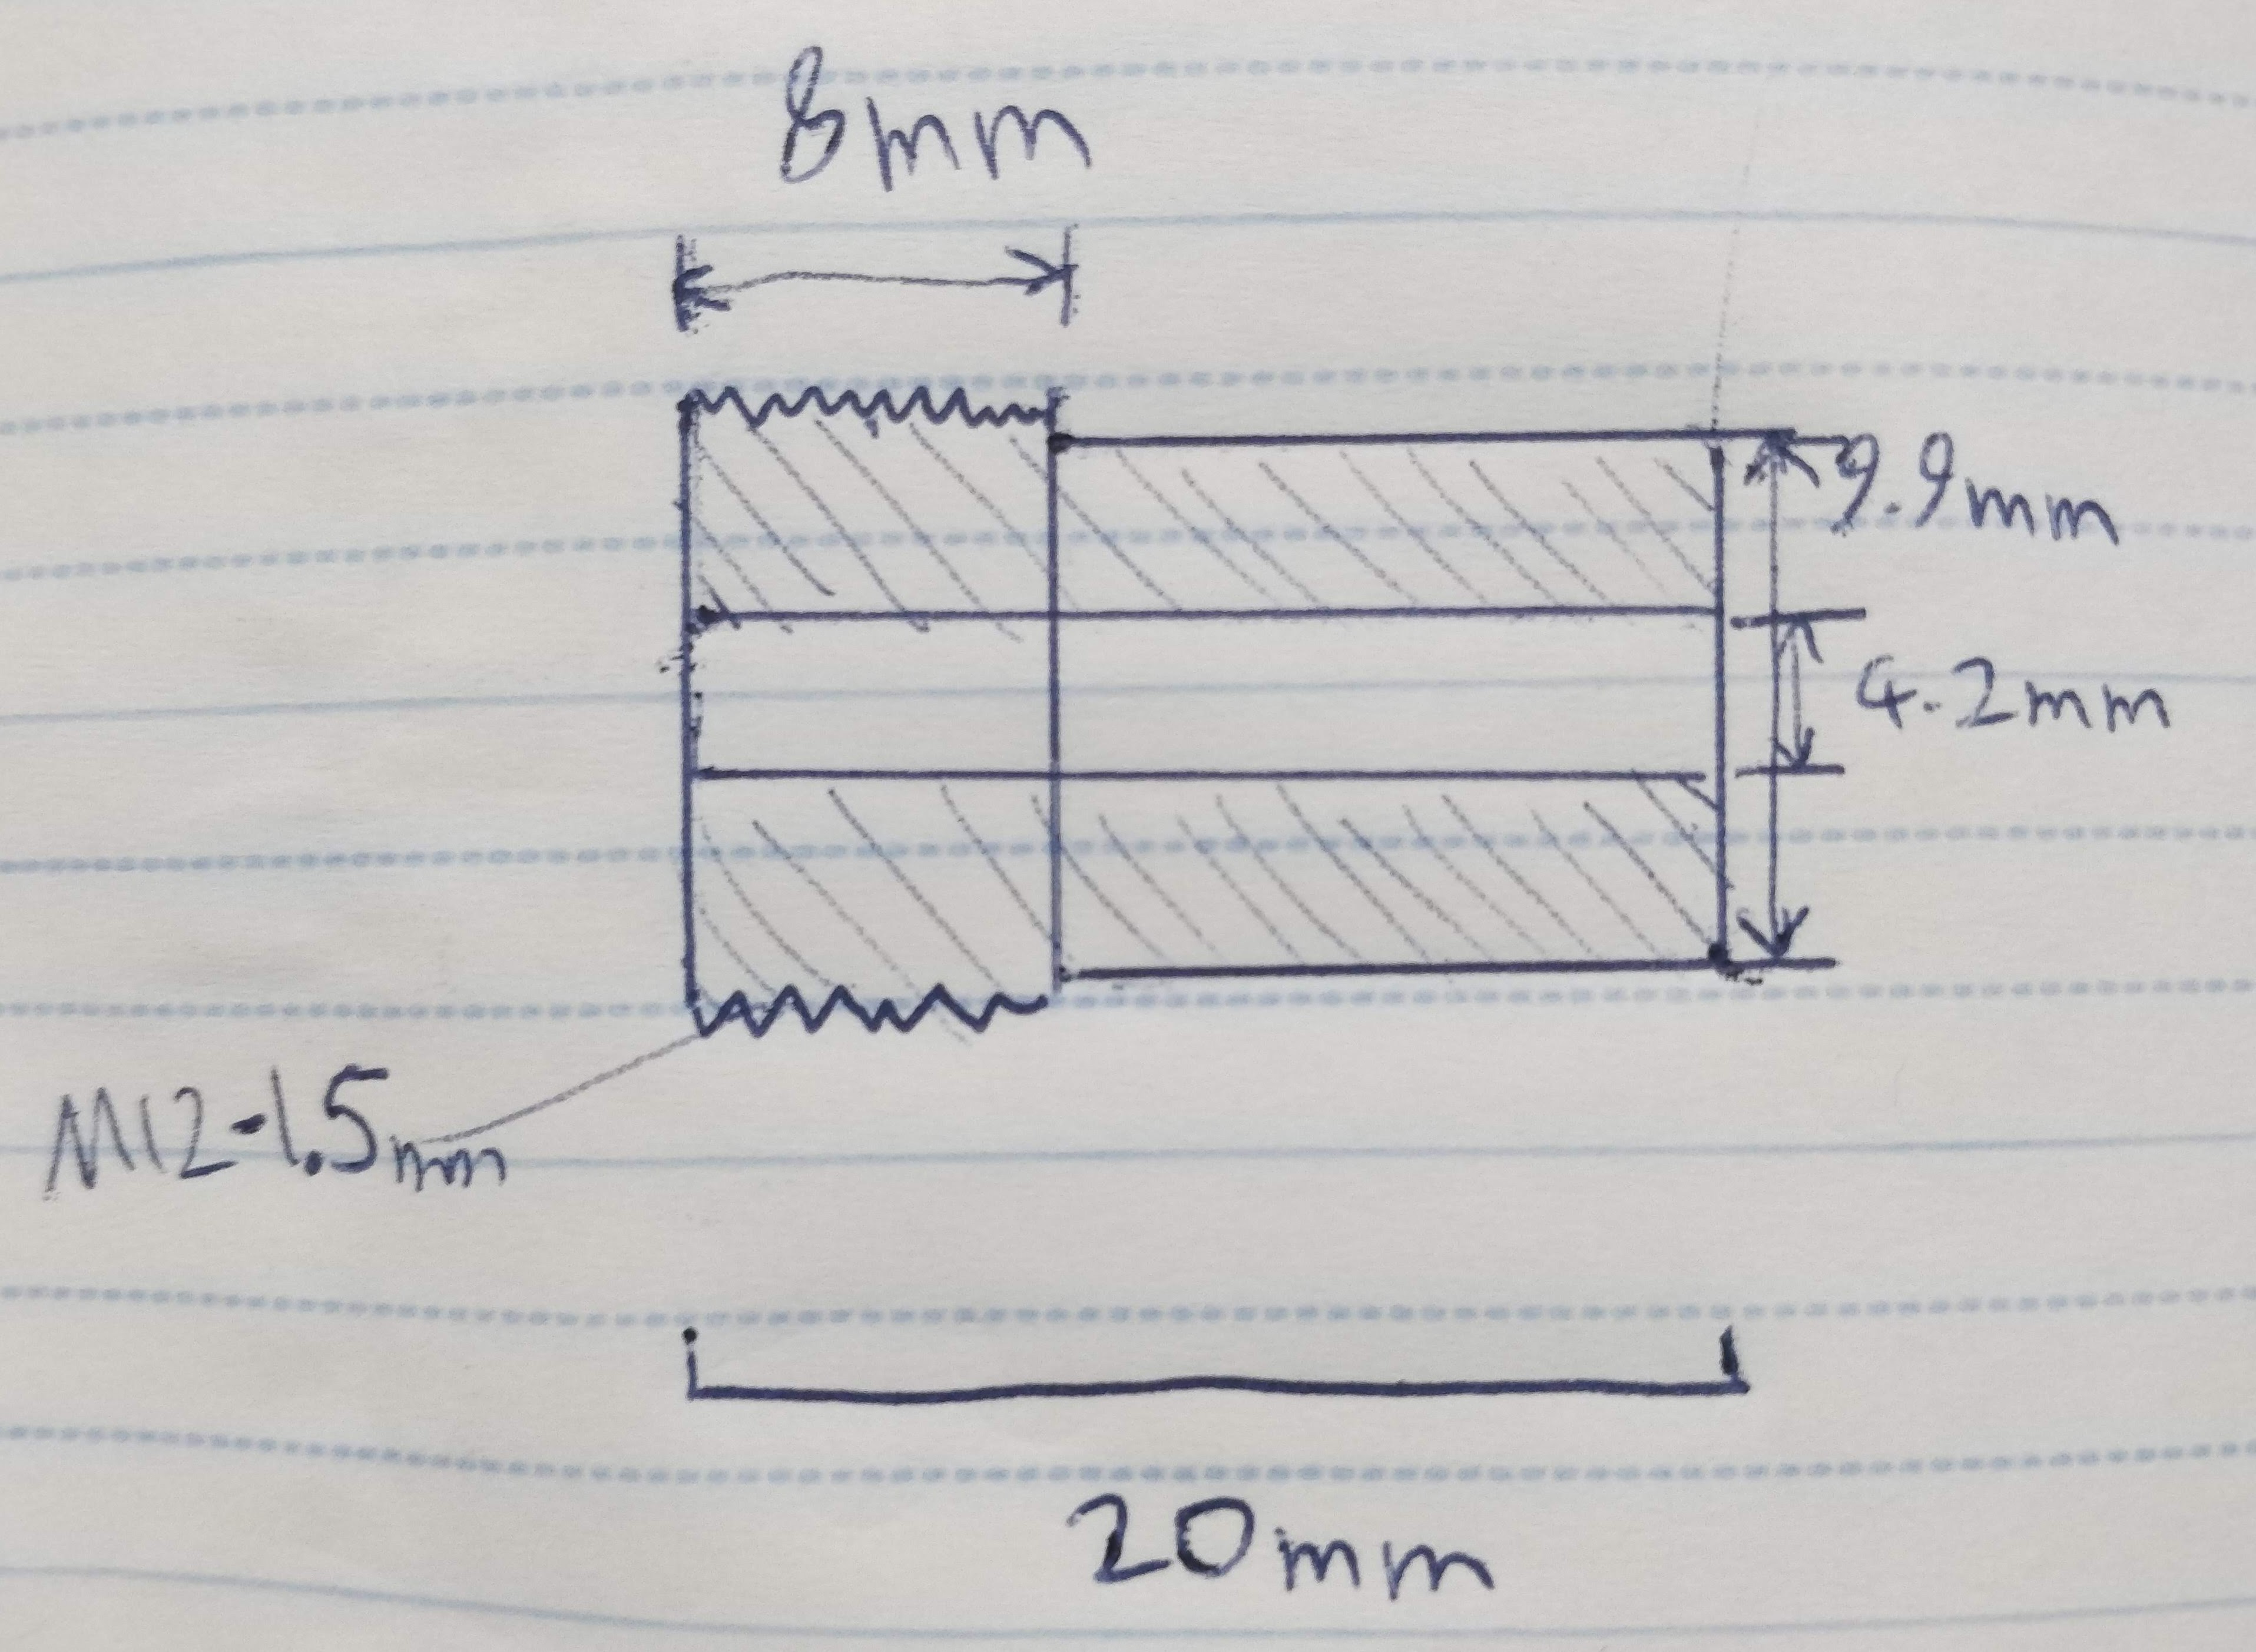
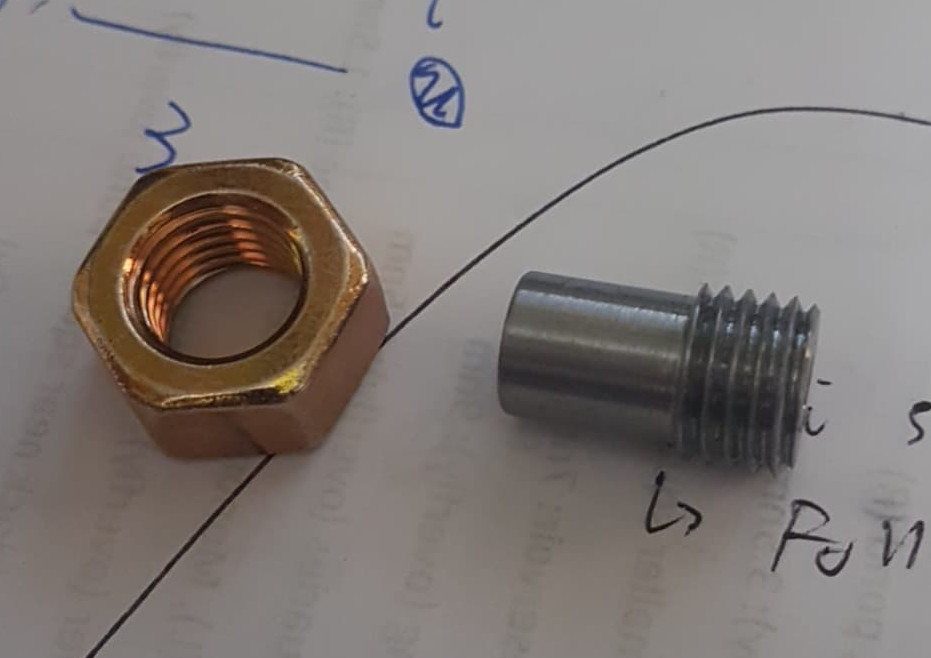
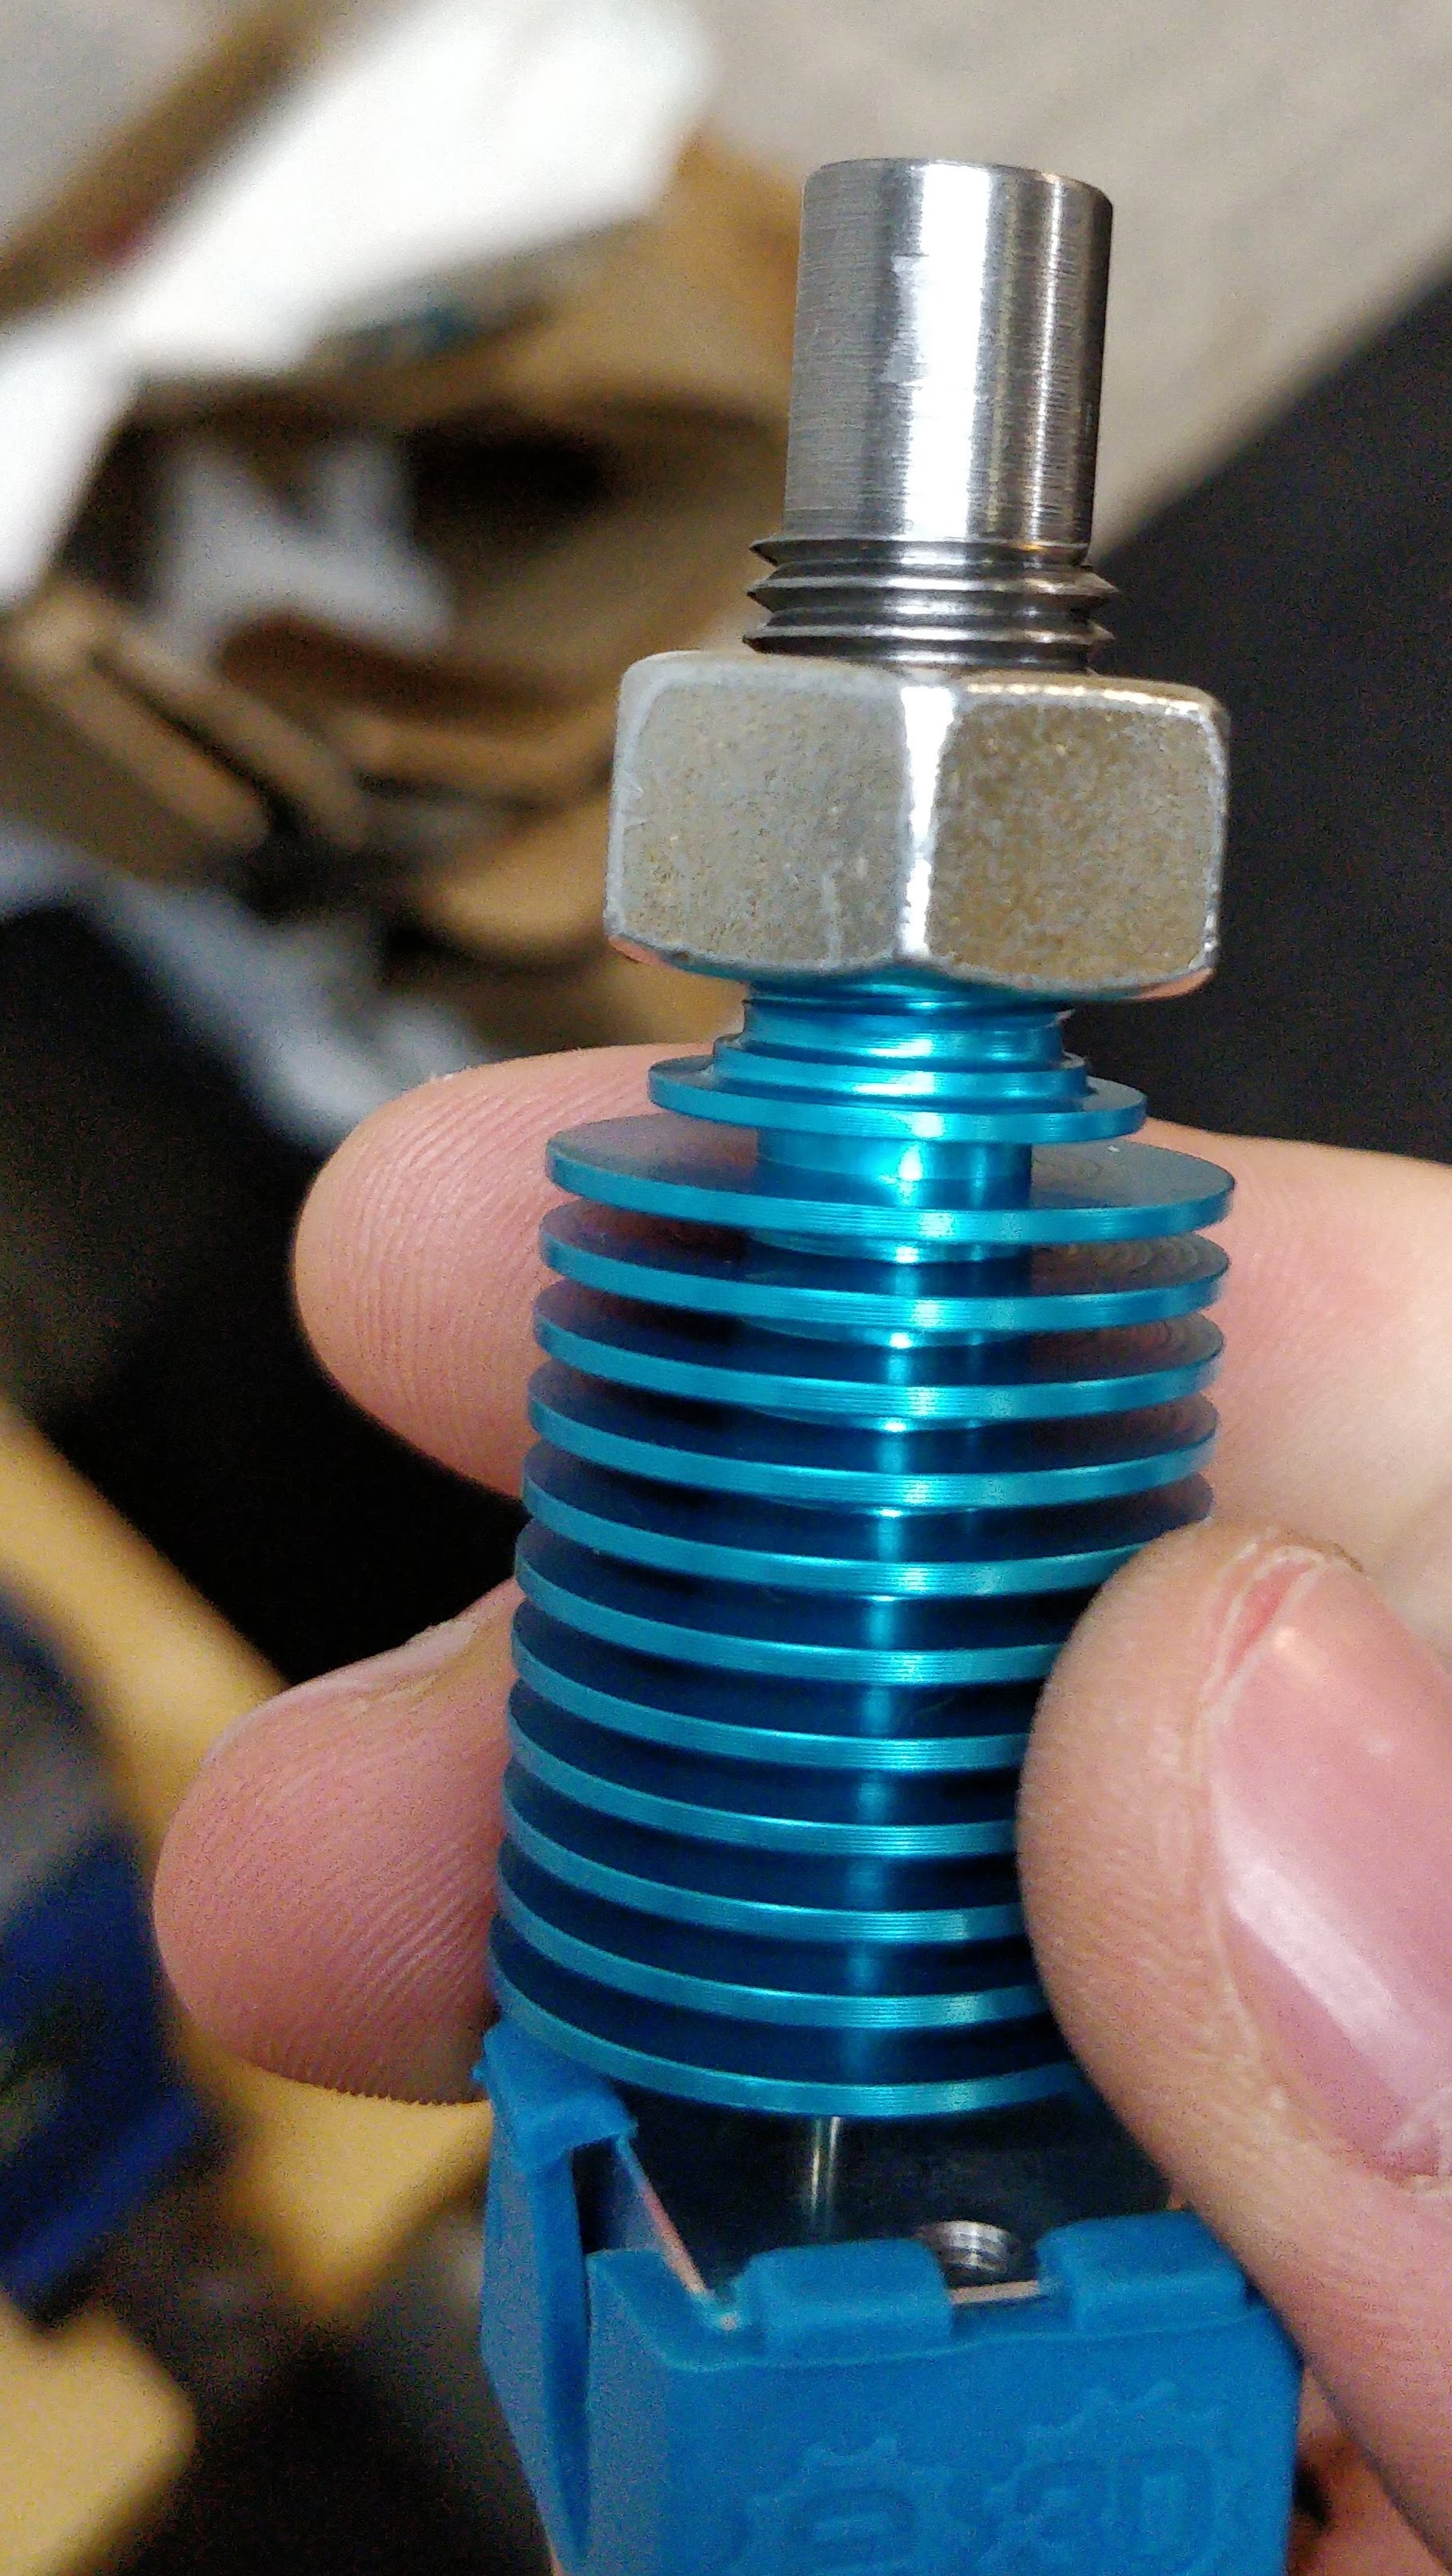 The process for making the hotend adaptor
Ongoing Tuning
Calibrating the controller is an ongoing task, although there are some good resources on the net for calibrating Marlin printers. Most of the big issues center around under or over extrusion and bed adhesion. With lots of tweaks to Z axis homing required to get a consistent first layer height. I’m still messing around with different Marlin features to try and get some more consistency, but I’ve definitely enjoyed the project either way.
 The same test model used for tuning, shows the various problems encountered (and sometimes resolved)